
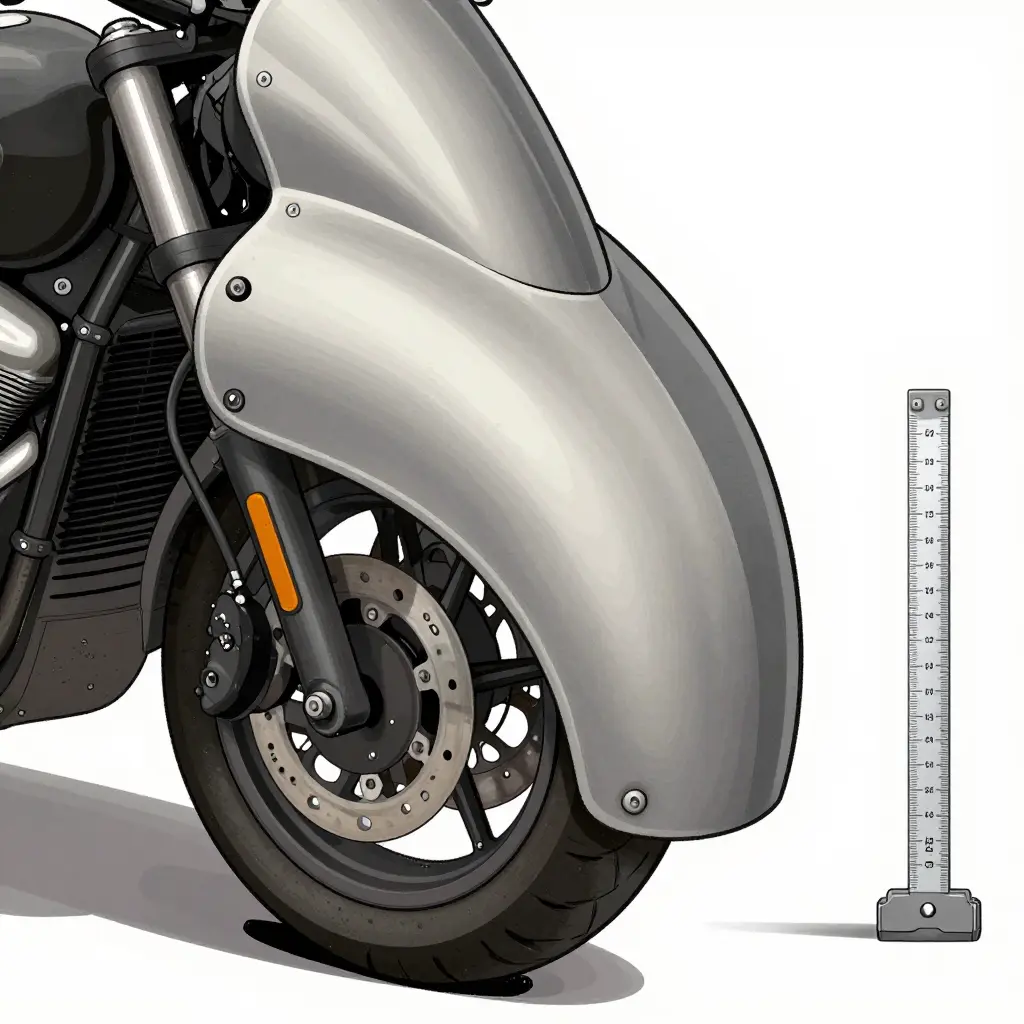
Aftermarket fairing fitment is how closely a replacement body panel lines up with your motorcycle’s frame, its mounting points, and the panels beside it. When bolt holes refuse to line up, the cause is almost always dimensional – the part was measured, molded, or toleranced differently – not bad luck or a hidden design flaw. Force will not close the gap. Measurement will.
The usual suspects are mold variance, shipping distortion, frame tolerances, and mixed model years. What follows separates them, then walks through a pre-install check you can run before tightening a bolt.
Measuring first saves time whatever you ride, and it protects your paint, your threads, and your plastic. With calipers, a straightedge, and some patience, most fitment problems turn into numbers you can act on instead of surprises.
Why Bolt Holes on Aftermarket Fairings Fail to Line Up
Misaligned bolt holes rarely trace back to a single defect. They come from stacking tolerances: the shell is molded to fit a frame, and each part carries its own small errors. Build the aftermarket panel and the frame to slightly different limits and those errors add up until the mounting points no longer meet.
Manufacturing tolerance stacking is the main cause. The shell, the frame, and the brackets each hold their own tolerance range; add them together and the combined gap can exceed the clearance a bolt needs to pass through cleanly.
Mold wear matters too. Tooling loses its edge over a production run, so a panel pulled early and one pulled late from the same mold can differ by a few millimeters at the bolt holes.
Heat warps panels. Thin ABS moves with temperature swings, so a panel that fit at the factory may not fit after a long, hot trip.
Stacked or clamped panels take a set as well. Plastic keeps the shape that weight forces on it, so panels shipped pressed tightly together can arrive bent.
Model years and sub-variants shift mounting points, and subframe or bracket variance adds more drift.
Finally, OEM tooling is held to tighter, verified specs while aftermarket tooling often copies dimensions loosely. That is the simplest explanation for bolt holes that miss.
- Confirm the part number and model designation stamped on the back of the panel against your bike’s exact make, model, and production year.
- Inspect every mounting bracket for cracks, bends, and corrosion. A weakened bracket pulls the panel out of position no matter how carefully you tighten it.
- Measure the hole-to-hole spacing at every pair of mounting points on the new panel, then measure the matching holes on the subframe and compare the two.
- Match each bolt hole’s diameter against the hardware you plan to use. An oversized hole lets the panel shift; an undersized one will not accept the fastener.
- Leave adequate edge clearance on every panel so nothing rubs the frame, exhaust, or neighboring bodywork once the panel is seated.
- Make sure the subframe itself is straight and undamaged. A bent or twisted subframe misaligns the attachment points no matter how well the panel was made.
- Look at the threads on every bolt, clip, and captive nut for stripping, cross-threading, or debris that keeps hardware from seating fully and holding torque.
- Measure material thickness at the mounting tabs. Thin tabs flex and crack under vibration and tightening.
- Test-fit the panel with all fasteners threaded by hand first. That reveals misalignment before you commit to a torque sequence.
- Photograph the original panel and its mounting points before removal so you have a reference for orientation and hardware placement.
Work through that list before tightening anything, and most problems surface while the part is still returnable.
| Cause of Misalignment | How to Detect It | Recommended Remedy | Severity |
|---|---|---|---|
| Mold tolerance drift | New panels sit with bolt holes offset a few mm | Test-fit all panels before painting; slot or shim holes | Low |
| Transit warp | Panel bows or sits proud straight out of the box | Let panels rest at room temperature 24-48 hours, then re-check | Medium |
| Model-year mismatch | Mounting tabs and contours differ from your bike’s year | Verify part numbers against your VIN and OEM catalog | High |
| Bracket bending | Stay brackets look visibly bent or twisted | Straighten carefully or replace with OEM-spec brackets | Medium |
| Oversized or undersized holes | Bolts wobble loosely or refuse to pass through | Use shouldered bolts and washers, or ream/drill to size | Medium |
| Hardware mismatch | Thread pitch or bolt length won’t match the frame mounts | Fit correct-diameter, correct-pitch fasteners for each mount | High |
Measuring Tools and Verification
A pre-install check starts with numbers. Digital calipers read hole diameter and center-to-center spacing to the nearest 0.01 mm; compare each reading against the specification in your service manual. If the spec says 10.0 mm and the aftermarket panel measures 10.4 mm, you have found the misalignment before a single fastener touches the bike.
A steel rule or tape measure covers the larger dimensions. Lay it flat along a panel edge for overall length and width, then check those figures against the OEM numbers. A wide gap between measured and specified usually means the panel will not fit, however hard you pull.
To check gap consistency, press a straightedge across two adjacent panels and slide a feeler gauge into the seam. The blade that fits gives you the gap size in millimeters. Tape reference points on the frame so you can re-measure the same spot after an adjustment and see whether anything actually changed.
Keep the heat gun and rotary tool for controlled post-check adjustments, never as a first response. They are for bringing verified measurements back within tolerance, nothing else.
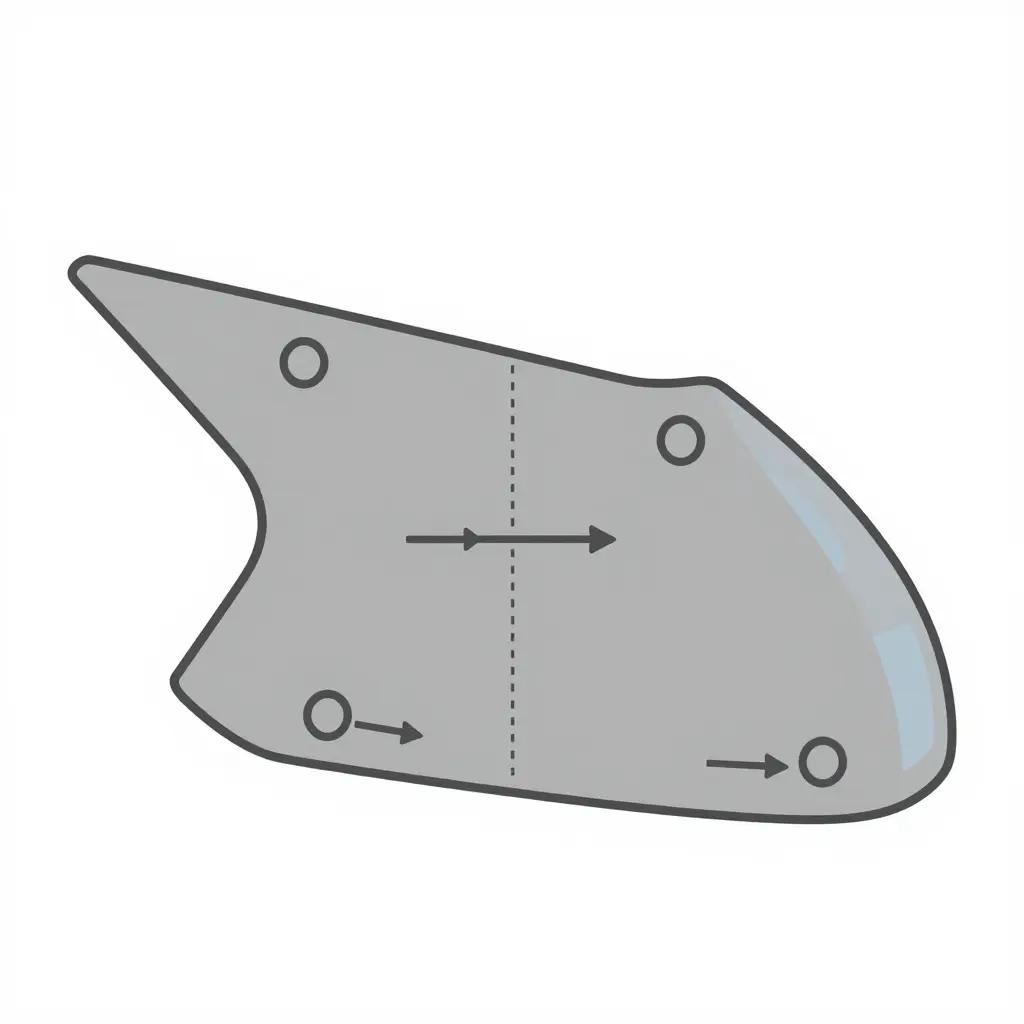
The diagram strips the measurement down to its essentials: bolt holes, a vertical centerline, and two numbers worth taking before you drill or tighten anything. The paired arrows show the offset between a bolt hole and the centerline (side-to-side drift) and the gap between the panel edge and the reference edge it mates to. If either measurement drifts from the factory spec, that is your early warning of a misaligned aftermarket panel.
Tolerance and Dimension Interpretation
Every fairing panel starts with a nominal dimension – the ideal measurement on the design drawing. The actual dimension is what the molded part really measures. The space between those two numbers is the tolerance.
Aftermarket fairing fitment stacks error at three points: the shell, the mounting bracket, and the motorcycle frame. Each carries its own tolerance, and added together they pull alignment apart.
A few millimeters of error at one hole compounds across a full panel. A 2 mm shift near the nose often becomes a 10 mm gap at the tail, because the mistake multiplies over distance.
As a rule of thumb, bolt holes that land within roughly 2-3 mm of the frame’s mounting points are workable. Panel gaps under about 3 mm and offsets under 5 mm usually read as acceptable. Anything larger – wide visible gaps, holes that miss by more than a few millimeters, panels that fight the frame – is not, and it points to a stacked tolerance problem worth sorting out before you bolt anything down.
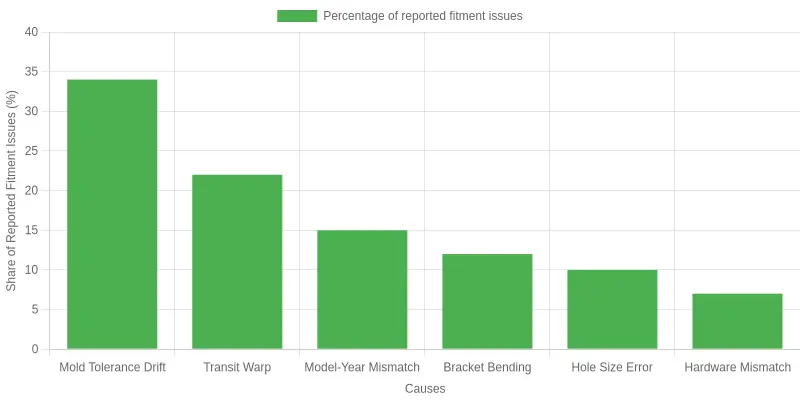
Based on the fitment complaints we see, tolerance-related causes dominate: mold tolerance drift and transit warp together account for more than half of the misaligned bolt-hole reports.
Step-by-Step Pre-Install Verification Procedure
Run the panel through this check before you pick up a wrench. The ten steps are in order, and the point is to find a problem while the part is still returnable.
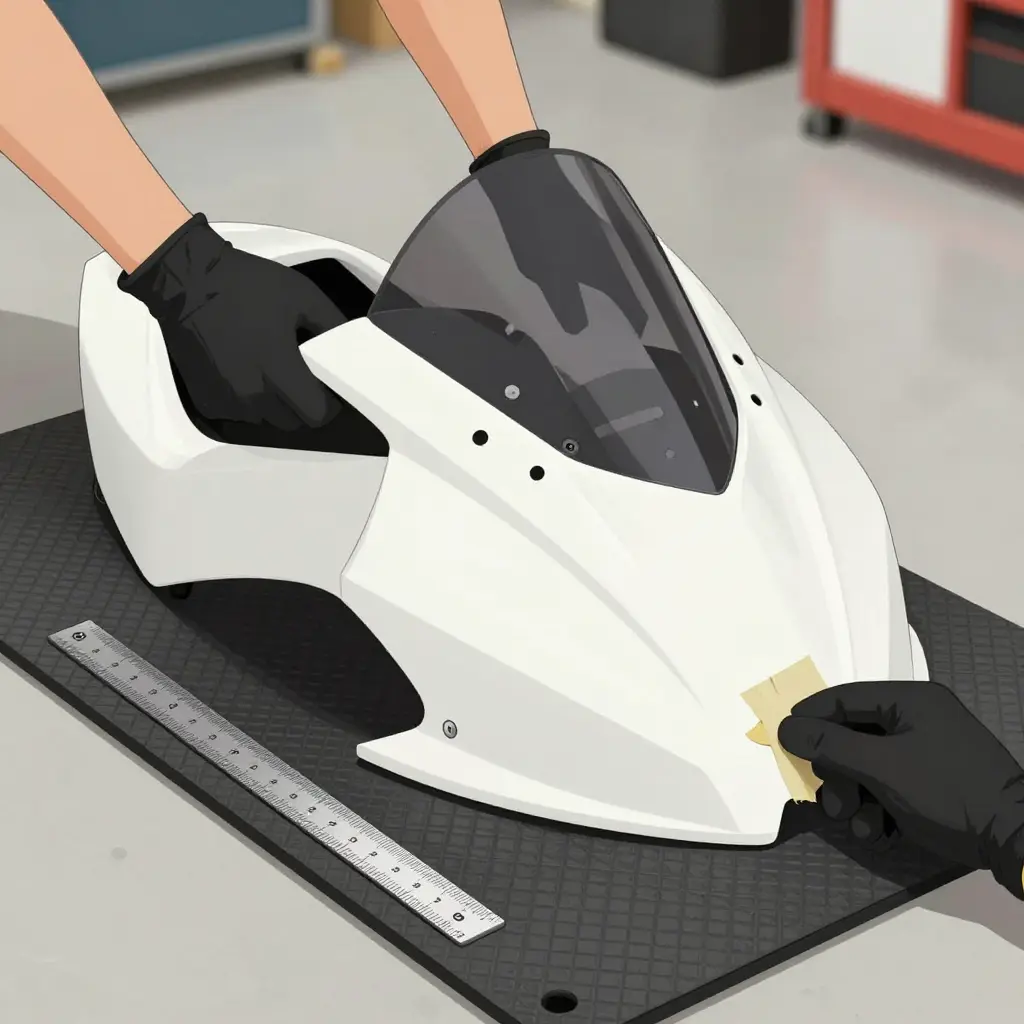
-
Set up a padded work surface. A moving blanket or foam mat on a clean floor or bench protects the finish and keeps small clips from rolling away. You want to inspect the part without adding scratches that hide real fitment problems.
-
Dry-fit the panel with no fasteners. Rest the aftermarket fairing against the bike in its natural position and let it settle under its own weight. Bolt holes misalign most often when parts are forced, so this shows how the panel wants to sit before any screws pull it out of shape.
-
Confirm you have the correct part and model. Match the part number and trim designation against the listing and your bike’s year, model, and sub-model. A wrong revision can look close and still sit wrong, so rule out an ordering mistake before chasing a fitment problem that is not one.
-
Inspect the panel for shipping damage. Run your hand along the edges and look for cracks, warping, and bent tabs. Damaged edges move mounting points, and you want to know whether you are dealing with transit damage or normal tolerance before blaming the fit.
-
Measure hole spacing on both sides. With calipers or a steel rule, take the center-to-center distance between the fairing’s mounting holes and the matching points on the bike. The numbers tell you whether the panel can reach the frame; your eye cannot.
-
Check bracket alignment. Brackets should be straight, seated, and mounted to the correct points. A bent bracket shifts every hole, so fix loose or twisted ones before you judge the panel.
-
Test-thread the hardware by hand. Start every bolt or screw by hand for the first few turns. If a fastener binds, it is cross-threading, and forcing it will strip the threads in the frame.
-
Mark any offset clearly. Use painter’s tape or a marker to flag where the holes sit and where they should sit. Marking it gives you the direction and size of the gap instead of an impression you have to remember.
-
Measure the offset and compare it to tolerance. Measure the gap between intended and actual hole centers in millimeters. A small offset inside the maker’s stated tolerance is fine to adjust; a large one means the part is out of spec.
-
Decide whether the panel is within tolerance. Either the gaps close with normal adjustment or the part will not fit. If it falls outside tolerance, stop and request a replacement rather than drilling new holes.
The flowchart reduces the whole routine to four stages: measure the mounting points, compare them against the factory specification, decide whether the result sits inside or outside tolerance, then follow the matching path toward installation or adjustment.
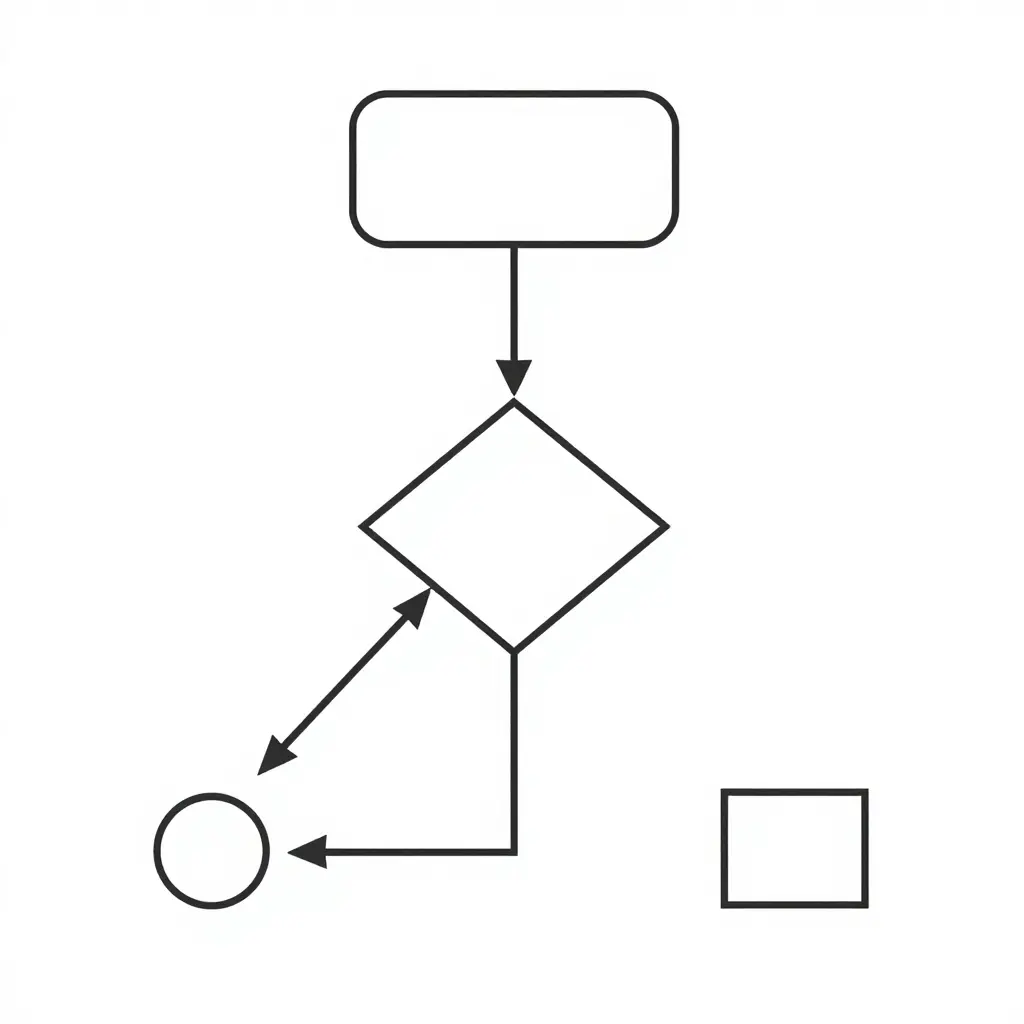
Adjust or Return? Making the Right Fairing Fitment Call
Some misalignment is normal and easy to correct. A hole that sits only a few millimeters off can be enlarged with a round file or step drill if you work slowly and check the opening often. A thin washer used as a shim closes a small gap or levels a panel that sits slightly proud of the frame. A bent mounting bracket usually straightens with gentle pressure and comes back into alignment without stressing the plastic. Fixes like these stay within acceptable fairing fitment tolerances and rarely weaken anything.
Other problems signal a part that should go back. A grossly mismatched hole pattern, where the mounts clearly belong to a different model, cannot be safely redrilled. Large surface gaps, warped panels, and cracks along stress points are manufacturing defects, not installation quirks. Forcing these parts into place invites vibration, cracking, and paint damage.
Before you cut, file, or return anything, send the seller your measurements: the hole spacing, the panel gaps, and the specific points that do not line up. Our support team answers fitment questions within six hours, so you get clear guidance fast.
Frequently Asked Questions About Aftermarket Fairing Fitment
Do aftermarket fairings ever bolt on without adjustment?
Sometimes, but only under the right conditions. When a reputable seller molds panels to OEM specification and your bike’s frame and mounting points are undamaged, an aftermarket fairing can mount with little more than finger-tight bolts. Even well-made kits, however, frequently need minor tweaks to bolt holes, tabs, or trim edges before they sit flush. Treat a perfect bolt-on as a bonus rather than a promise, and budget a little time for adjustment.
Why can the same model year still differ?
Bolt holes misalign even between bikes of the same model year because of production tolerances, mid-year design revisions, and accumulated wear. Subframe alignment, previous drops, and aftermarket accessories can each shift mounting points by a few millimeters, and different assembly plants and trim levels add more variation on top of that. This is why a fairing that fits one owner’s bike perfectly may require real work on an identical-looking machine.
How much offset is acceptable?
A small offset, generally a few millimeters at a single bolt hole, is normal and can usually be solved with gentle shimming or slotting. If multiple holes are off by more than roughly five millimeters, or if panels must be forced into place, stop and reassess the kit. Forcing wide offsets stresses plastic and can crack tabs over time. The goal is a fairing that rests naturally with hand-tight bolts before you finalize torque.
Is drilling new holes safe?
Drilling can be safe if you plan carefully and reinforce each new opening. Position the panel against the surrounding bodywork first, then mark and drill a pilot hole before enlarging it. Add a washer or backing plate so the bolt spreads the load instead of tearing through thin plastic. Drilling should be a last resort after you have exhausted adjustment, never a first move on a fresh kit.
How do I check fitment without installing?
Run a pre-install check by dry-fitting the panels loosely with no bolts, then verifying alignment at the frame, tank, and tail. Compare tab positions to the OEM mounts and photograph any gaps so you can share them with the seller. Use the OEM hardware and rubber grommets as your reference, since they define the true location of each point. A careful pre-install check saves hours of assembly and returns.
What if only some holes line up?
Start with the panel whose holes line up closest, thread its fasteners by hand, then work outward one panel at a time. Tighten nothing until every piece is loosely positioned, because locking one panel can pull the others out of range. If the mismatch stays large, contact the seller with photos and measurements, and a good vendor will replace the part or advise. Persistent misalignment often points to a bent subframe rather than a defective fairing.
Conclusion
Misaligned bolt holes on an aftermarket fairing are a measurable dimensional problem, not a matter of luck or guesswork. The gaps between mounting points, the spacing between fasteners, and the offset of each hole can all be quantified with basic tools before a single bolt is tightened. Knowing that those differences come from manufacturing tolerances, mold variation, and frame geometry helps riders approach the job with realistic expectations and fewer surprises.
The check-and-measure approach stays simple: lay your OEM panels beside the new aftermarket fairing, measure hole center-to-center distances, and note any drift before you commit. Doing this first saves hours of frustration and prevents stripped threads, cracked plastic, and rattling panels down the road. Verify before you install.
If you would rather start with parts made with those tolerances in mind, summitfairings.com describes itself as one of the leading motorcycle fairing export sites. The company says it carries over 3,000 styles across almost all motorcycle models, prices them 10-40% lower than other sites, and answers your questions within six hours.
Related Resources
Other trades run on the same logic. Fire safety essentials certification training covers how standardized inspection routines reduce error, while a guide to fire truck maintenance training outlines the scheduled checks that catch equipment faults before they escalate. Resources on fire safety certificates and training requirements explain what those programs certify. Fairing or fire truck, reliable verification comes down to the same habit: measure, confirm, and record before you commit to the final step.